The promised tutorial!
So!
This is for the absolute basic hat. In size medium, which is most people. I'll grab the other sizes in the future.
Please bear with me! I've never done a really detailed tutorial before, so this may be way too much information, sorry.
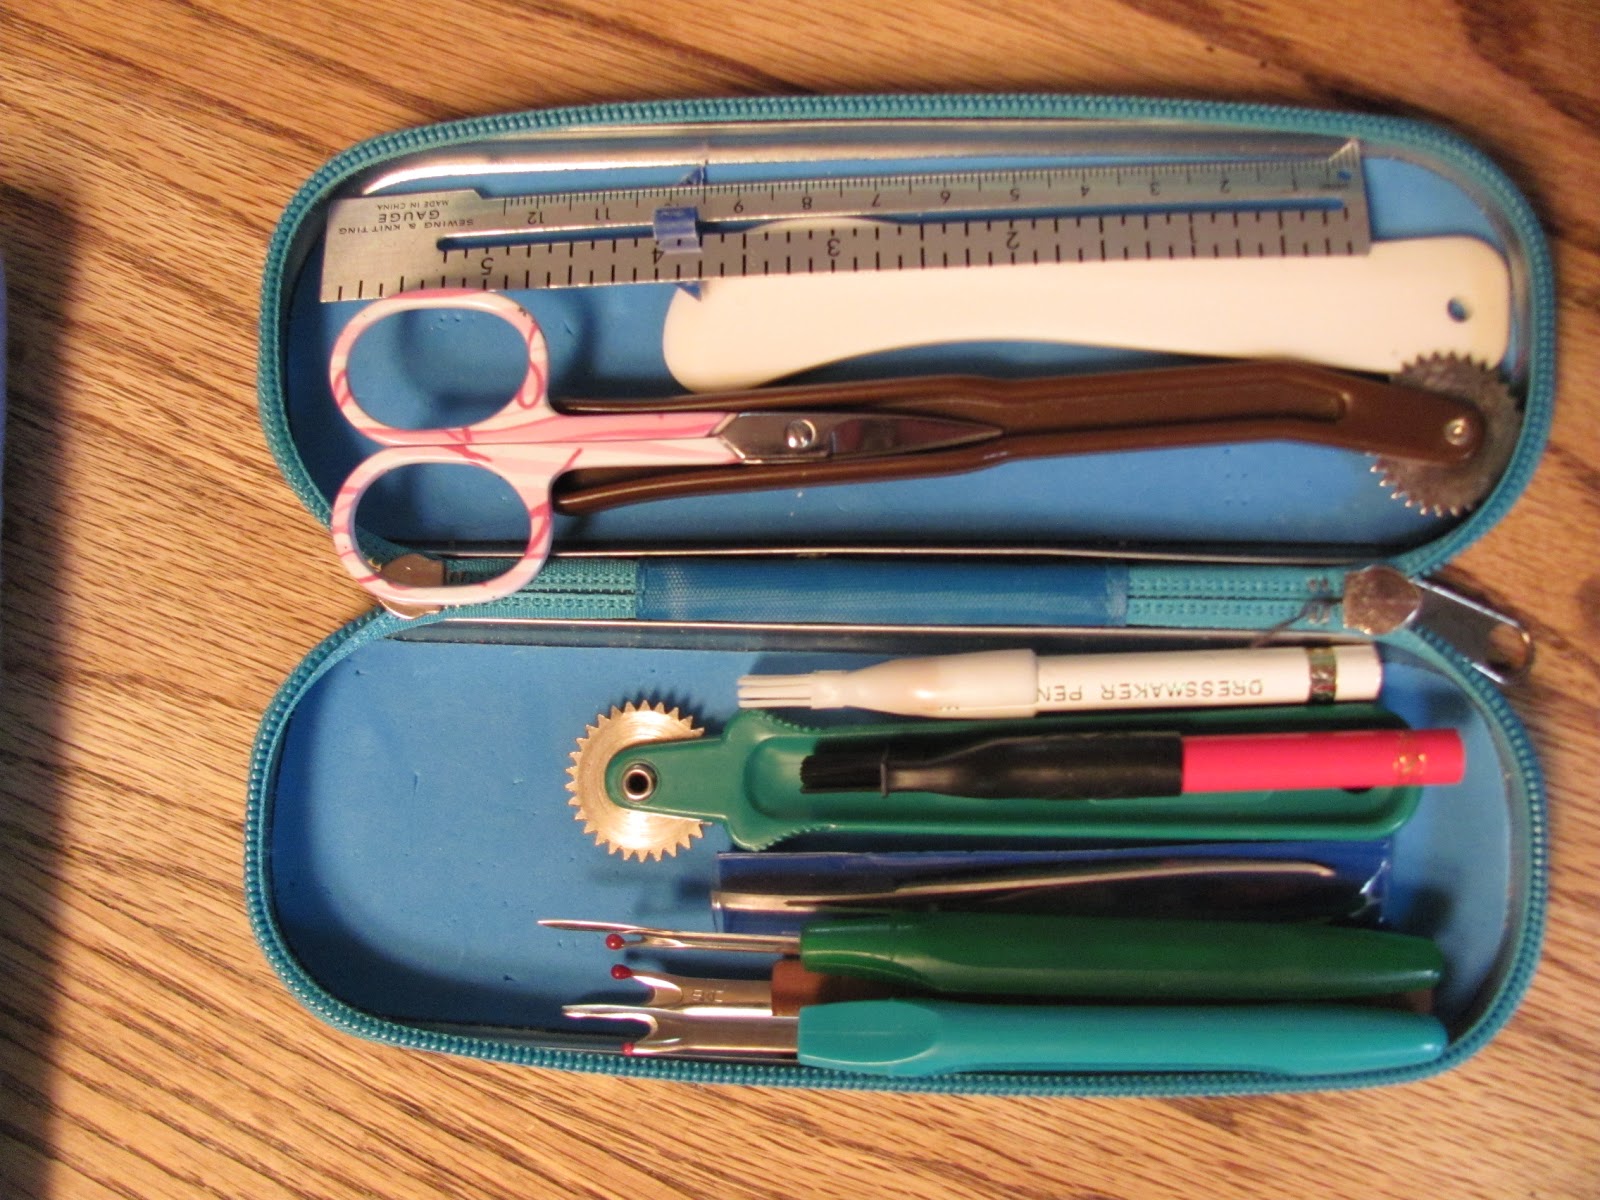
Before I start anything I make sure I have all this stuff handy:
And a sewing machine/thread/fabric obviously. You probably won't need anything in my pencil case there, but it's like my sewing safety net, I just always like it handy
just in case (so basically it sucks when I lose it, which I do).
This is the pattern!
The hat band is 24" x 6"
The triangle bit is 6" across the slightly curved bottom, and 5.5" from the tip to the base. Note the rounded sides! 'Cause heads are.. you know... round....
My triangle pattern is pretty beat up from how many times it was used at my last hat shindig (whereas my hat band pattern is brand spanking new since I couldn't find my old one), I just even out the imperfections when I cut it out.
You'll need to cut 4 triangles and one hat band, being really mindful of the stretch.
Some fleeces stretches 4 ways, but the generic stuff, and the stuff I'm using for demo is only 2-way stretch.
It's really easy to tell which way, just stretch!
I'm cutting two triangles at a time here, but you can cut all four at once if your scissors are sharp enough.
All your pieces!
Pin along one side of each pair of triangles. You don't really need to do this if you don't want to, fleece sticks to itself, so it's whatever you're most comfortable with.
Sew the seam at 1/4"
Or just match the edge of the fabric up with the edge of your pressure foot. Not all pressure feet are 1/4", but I've found fleece is so forgiving it really really doesn't matter.
Easy peasy
So now you have your two sides.
Slap 'em together, matching the two tops in the center.
Sew, again at 1/4" and tada!
This is the crown of your hat, yay!
Now to the hat band!
Just fold it in half, matching the two short sides.
I sew this at 1/2"(Edit! Reading this after making many more hats, I totally forgot I patterned for a 1/2" seam allowance here and have consistently used the edge of my foot, and it hasn't made any difference. So whatever you're most comfortable with).
Hat band yay!
The following is the simplest way to do it and be done, but I'll be following up with some alternative methods as well.
Fold it in half length wise, matching the seam up with itself.
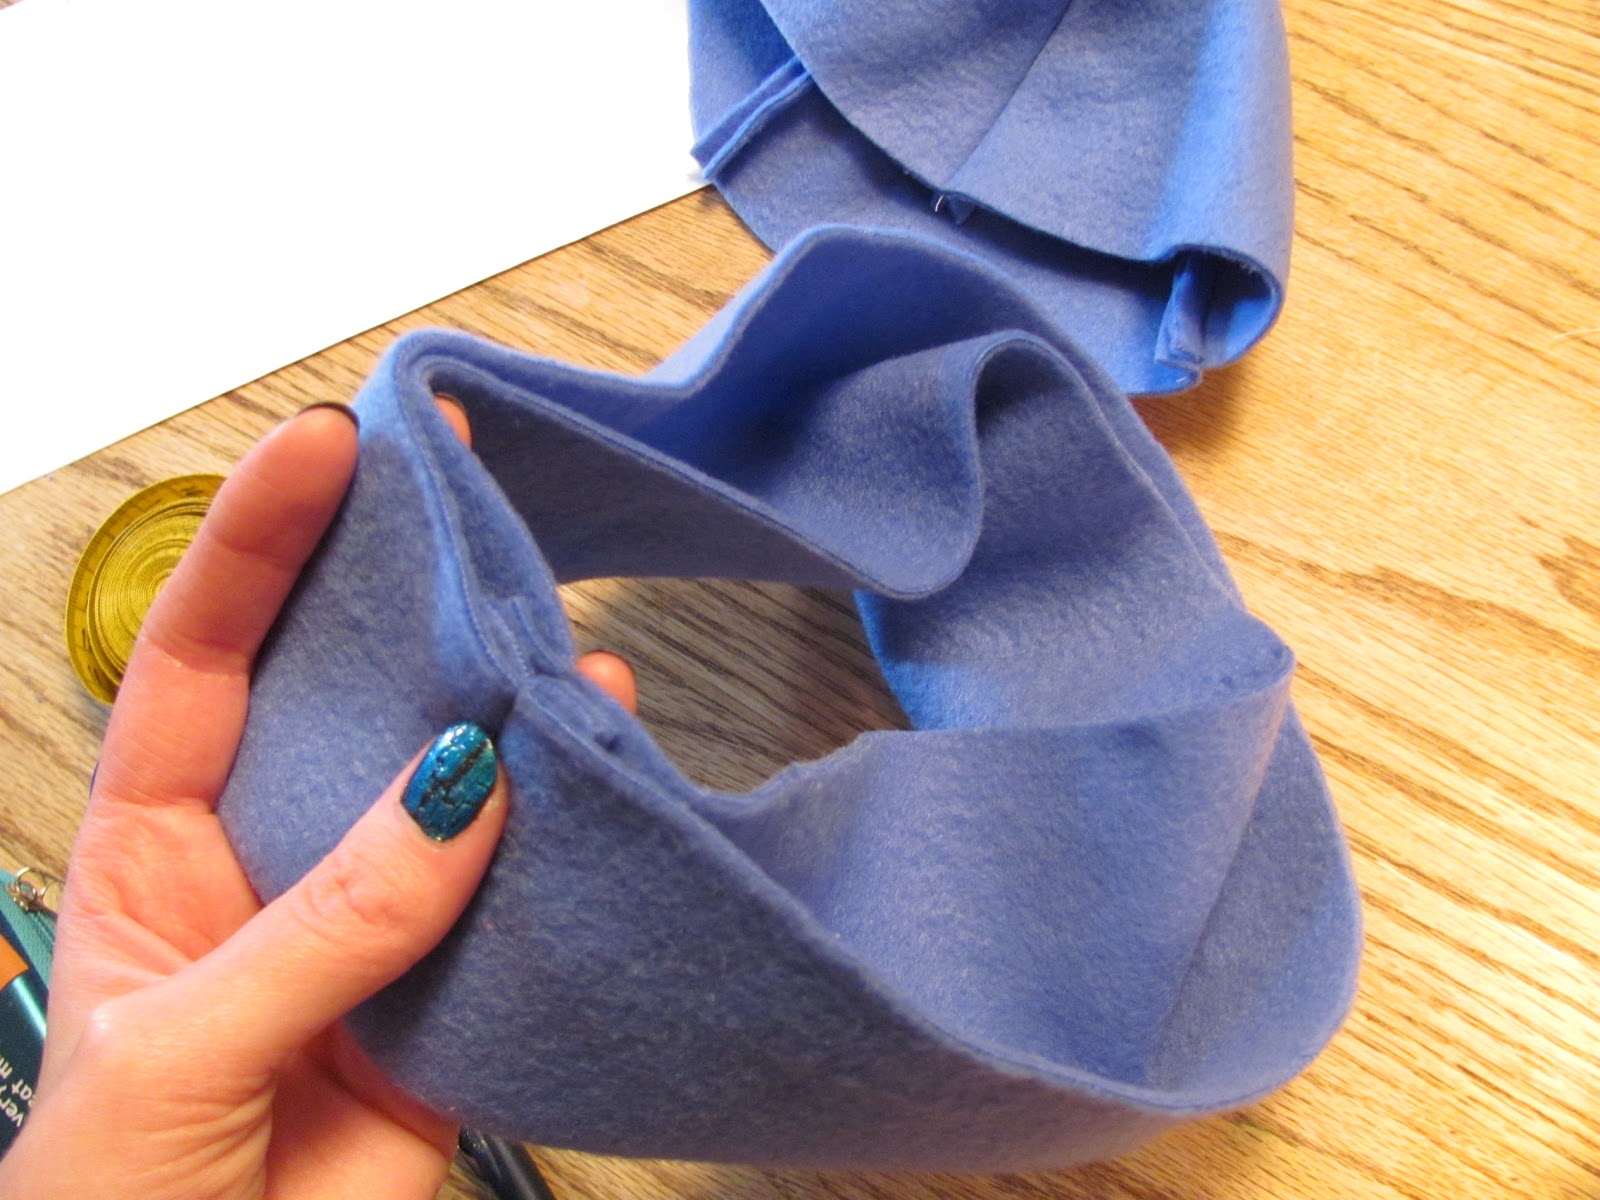
Plop the crown in
Well. Pin it in would be better.
Pin all the seams open, to reduce bulk. I usually center the seam of the hat band in the center of a triangle, so I don't have that bulk to deal with.
Sew!
I sew at 1/4-1/2"(depending on if I'm going to top stitch the seam allowance down).
Aaaand
Done!
Really!
Embellishing and other options to come~
Edit! AJ suggested I scan the pattern with inch markings: